Pages

Showing posts with label baking. Show all posts

Sunday, November 18, 2012

Thanksgiving care package


We have all had friends or family (or even ourselves) that have been in the hospital during holidays. I find myself asking "what can I do to help?".  I am obviously not going to do anything to actually help as I have no medical background, but I want to do something, something to show them that they are in my thoughts and prayers. I decided this Thanksgiving to send a care package to my family that has been relocated for some time while my husband's cousin recovers.

I mentioned in my previous post that my husband had been traveling back and forth to Spokane to see his cousin that is in the CICU there. Back in July, Joe went in for a heart surgery to repair his valves. He is in his early 30's and his father had just breezed through a very similar heart surgery and recovery, so we all thought Joe would be in and out of surgery with time to start recovering before his first niece was born at the beginning of August. Things with the surgery didn't go as planned, the doctor here in Alaska didn't expect his heart to have so much damage. To make a very, very long story shorter, he was flown via emergency life-flight to Spokane along with his mom. Since being in Spokane, he has had multiple steps forward followed by terrifying steps backwards. He had a mechanical valve put in his heart because his heart wasn't working, they planned to put him on the heart transplant list as soon as his other organs started coming back on board. We all can only imagine how life altering this could be but we didn't care, our Joe is alive.

Then a miracle happened...his own heart started working again! Even the doctors don't understand how or why but Joe's heart began beating on its own. After a few more scary surgeries, I am happy to report that Joe is on the recovery route again. His own doctor, his biggest cheerleader, says the laws of physics do not apply with in Joe's room in the CICU. More than once during this whole time period we have been able to say, "it's a miracle" or "the power of prayer is amazing!". We continue to pray for his organs to come back on board 100%, and he has a long road ahead of him but we all believe he is headed in the right direction! If you are a praying person, continued prayer for Joe's healing process would be greatly appreciated!!

Anyway, on to the care package. I knew that the family that is with Joe over the holiday would be missing their traditional Hebert Thanksgiving food (oh my goodness, I could go on and on about this family's cooking!). Since I can't pack up Granny's rice dressing or turkey to send to them, I went back to what I know. Desserts. Our family is a fan of fudge, chocolate pies, chocolate cakes...basically most things chocolate. Fudge seemed like the logical choice to send to Washington. So I made the fudge.

 
I gathered other items to add to the box.
 
 
The baby clothes are for Joe's niece who is just 3 1/2 months old. How could I resist these little turkey clothes? There is a little turkey on the bum of the pants...adorable!


I got these free printables from Pizzazzerie to add to the box. I love the coloring of the printables but also the verse. Our family has so much to be thankful for any normal year, but this year even more!
 
 
Using a large flat rate shipping box, I started packing. The fudge is the heaviest and largest, there is some pumpkin bread and chocolate covered pretzels in bags (with raffia to match the printables of course).
 
 
I layered in a box of black tea, more chocolates, the baby clothes (wrapped in tissue), and a card for the family and one for Joe.
 
 
I put the large printable on last so it will be the first thing they see when they open the box.
 
 
This is just a small, inexpensive way of sending some love (in chocolate form) from afar. We love and miss our family dearly! Next Thanksgiving we will be back together again!
 
Happy Thanksgiving everyone!
-Amanda


Monday, October 1, 2012

Pumpkin Snickerdoodles


Well, it's fall. Any normal year, this is my favorite time of the year. In Alaska, we have a limited amount of time to enjoy the fall colors before winter gets here and I try to make the best of it. Alaskan scenery is gorgeous all the time, but I love when the leaves turn yellow up again the light blue sky. This time makes for some of the prettiest here in AK.

However...this year hasn't been cooperating. I believe I told you about the record snow fall last winter (beating out the record from the 1950's!)? Well, the record breaking winter was followed by one of the rainiest summers I have ever experienced, followed by a series of hurricane-force wind storms this fall. Winds were over 100 mph in the higher elevations. Thousands of people lost power which resulted in us losing our hot water heater for days. (Lucky for me my mom lives a few miles away and they had hot water!) I am blessed that the worst part of the damage for us was the lack of sleep and showers, others are still fixing the damages caused by the random Wednesday storm.

 These pictures are in our parent's backyard. Because the ground was so wet (record rainfall) when the wind started blowing at 80+mph the trees just tipped right over, pulling the root systems right out of the ground. The first picture is our dad, he is 6'3", so that shows you how tall those roots stood up.


THEN, this past Saturday, September 29th, that's right SEPTEMBER....I woke up to it snowing outside! I don't mean a little bit of frost on the ground that makes it appear to look like it snowed, I mean it was full on shaken snow-globe style snowing!


Determined that it is still technically fall (contrary to what the Alaska weather thinks), I made some yummy pumpkin snickerdoodles that I pinned from Six Sister Stuff. The snow eventually subsided, the sun came back out and there are minimal traces of snow left....for now.

Here is the recipe to make your house smell of wonderful fall:


Pumpkin Snickerdoodle
adapted from Six Sister Stuff blog

Ingredients:

For cookie dough
1/2 cup butter, room temperature
1/2 cup shortening
1 cup white sugar
1/2 cup light brown sugar
3/4 cup unsweetened pumpkin puree
1 large egg
3 1/4 cups flour
2 tsp baking powder
1 tsp baking soda
1/2 tsp salt
1/2 tsp cinnamon

To roll the dough in:
1/2 cup sugar
1 Tablespoon cinnamon
1/2 tsp ground ginger
Dash of nutmeg

-Cream together butter, shortening, and sugars.
-Add egg and pumpkin puree, mix until blended.
-Add in flour, baking powder, baking soda, salt & cinnamon, mix until combined.
-Chill dough. (30 minutes in fridge or 10 minutes in freezer).
-Meanwhile, combine sugar, cinnamon and spices of your choice in a bowl.
-Scoop dough using cookie scoop of your choice, roll the dough in the cinnamon/sugar mixture and place on cookie sheet.
-Bake for 7-9 minutes.
Cool and enjoy!!

What do you bake to make your home smell like fall?

-Amanda


Monday, September 17, 2012

"Kryptonite" Rice Krispies


The story behind the name of these addictive little treats:
I learned to make these rice krispie treats from my husband's grandmother. (turns out it is a Nestle recipe, but I still give Granny the credit) I started making them for most get togethers, including the ones with my side of the family.

My sisters had the same reaction to these ridiculously good rice krispies that I did when I first had them and now they are demanded at family get togethers.

Now, the real reason I call them "kryptonite" is that even my sister, Kristy (you know the one that eats perfectly, works out daily), will cave and eat too many of these. I will refer to them as "Kristy's Kryptonite" forever now, and she agreed with me when I sent her a picture of making them.

Last time I made these for two of my three sisters was this summer for the cabin trip over the fourth of July. They were both visiting with their families and we went to my parent's cabin. I made a 1.5 batch of the recipe below (a 15x10 pan). Before the end of the second day, Jeannie was hiding the rest of them from everyone else so she didn't have to share! (We think Jeannie has a hoarding food problem, but that's another day another post...)

If you'd like to make these, it's super simple!!

Here's what you'll need:

1 cup light Karo Syrup
1 cup white sugar
1 cup smooth peanut butter (I normally make this a slightly heaping cup)
6 cups rice krispie cereal
1 1/4 cup milk chocolate chips
1 1/4 cup butterscotch chips

Here's how you make 'em:

Grease a 13x9" pan and set aside.
Put sugar and karo syrup on medium heat and cook until bubbling.


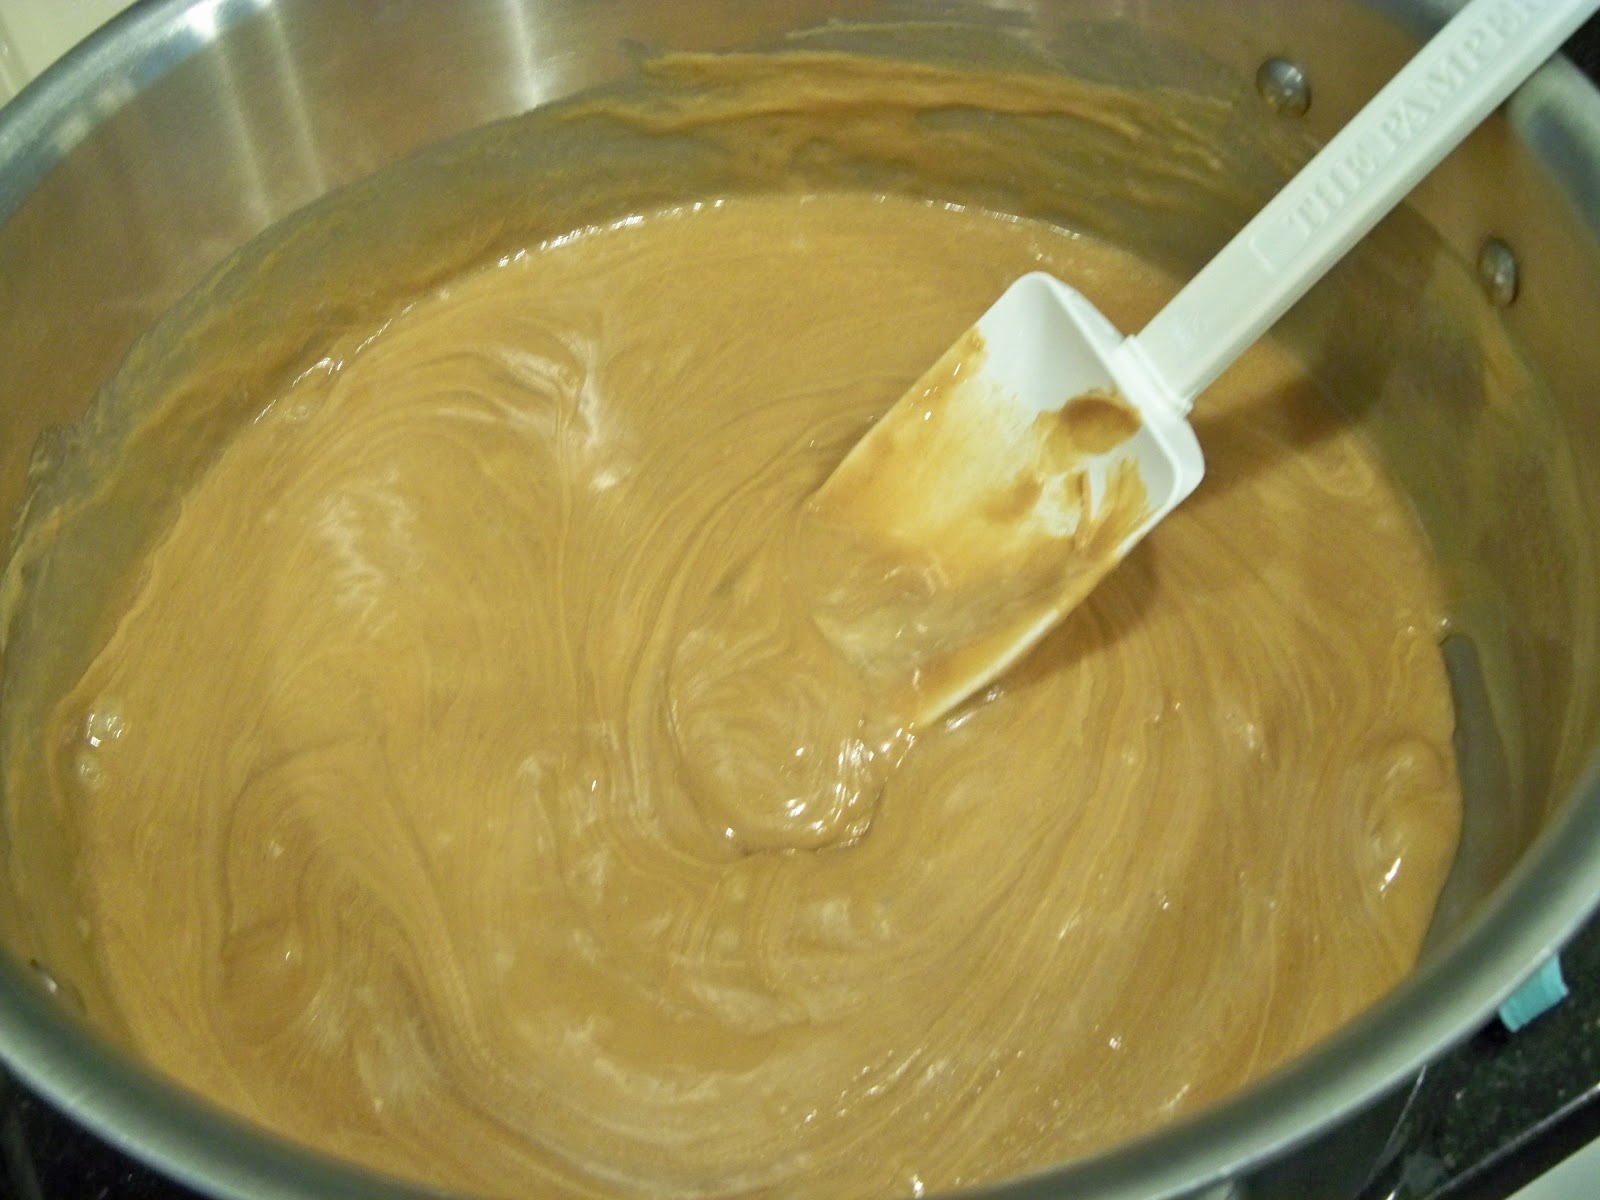
Remove sugar mix from heat when bubbling like the picture, and add the peanut butter. Stir this until mixed, and add the rice krispie cereal. Mix cereal in until well combined. Carefully pour this mix into the greased 13x9 pan and press out. (You may want to spray a little cooking spray on your fingers before doing this part, it will help keep the mixture from sticking to your hands) If you do not want to use your hands for this, just use a spatula to spread the mixture out in the pan.


Then is a microwaveable bowl, heat the chips until melted, careful not to burn the chocolate. (I would heat for one minute, then stir. If needed microwave for 30 seconds at a time and stir in between until melted. Due to the kitchen remodel that started last year, I do not have a microwave. So, I use a double boiler method to melt my chips. And yes, I know it is crazy to not own a microwave in 2012...)


Spread the chocolate mixture over the top of the rice krispies and allow to set. WARNING: The chocolate will take some time to set up, especially if it's warm in your house. You can toss these in the fridge or freezer for a bit to set the chocolate but it's best if you don't leave them in there too long or they will become rock hard.


Cut them up and Enjoy!!

What is your "go to" dessert? Am I the only person who has dessert recipes memorized?

-Amanda

Monday, September 3, 2012

Cream cheese pound cake


This cake is dense, rich and moist all in one scrumptious bite. It's so simple to throw together, but give yourself plenty of time for baking. It's a long bake time of an hour and forty minutes, plus cooling time. BUT please don't let that deter you from trying this! I think it would pair well with fruit and maybe a little whipped cream. Or just do like I did and eat it plain. I ended up slicing the bundt up and distributing to family.

From Southern Living 2001

1 1/2 cups butter, softened
8 oz (1 pack) cream cheese, softened
3 cups sugar
6 large eggs
3 cups all purpose flour
1/8 teaspoon salt
1 tablespoon good vanilla

Butter and flour a 10" Bundt pan
Cream together butter and cream cheese until blended.
Add sugar, mix until incorporated
Add eggs, one at a time. and vanilla (I crack my eggs into a separate measuring cup to watch for egg shell and put my vanilla on top of that, this way when I pour the eggs in the vanilla also gets incorporated)
Add flour and salt, mix until just mixed in. (consider stirring this last part by hand. Fold in the flour and salt mixer to not over mix your cake *over mixing causes toughness*)

Bake at 300 degrees for an hour and forty minutes.


Enjoy!
-Amanda 

Wednesday, August 22, 2012

Oatmeal Chocolate Chip Cookies


When I make cookies, I make regular chocolate chip cookies for David. He prefers chewy cookies with dark chocolate chips. Every now and then though, I want to bake something that I prefer (although, it's probably best that I don't make anything that I like because I just eat it all....in one sitting. Don't judge.)

Anyway...I worked at the Great Harvest Bread Co. during high school (best job ever!) This time frame is when I discovered my love of baking, and of food in general. I also developed a love for their oatmeal chocolate chip cookies. You know, those giant cookies the size of a salad plate? If you do not know these cookies, you should google  your nearest Great Harvest and try them! While you are there, try the cinnamon swirl bread, the cheddar garlic bread, the asiago pesto bread....mmmmm bread sounds really good right now.

Let's keep this story moving....I have been searching for a good, chewy oatmeal cookie that pairs well with chocolate. During my search I have found ones that turn out too crispy, too fluffy, too cakey but I have yet to find the right cookie for me. Until.....wait for it.....I looked on the lid of the Quaker Oats tube!!! Seriously! Right in front of my every time I open one of these tubes to measure out for another recipe, there was the recipe I needed to try.

Just chewy enough oatmeal chocolate chip cookies:

1/2 cup butter plus 6 tablespoons butter, softened
3/4 cup firmly packed brown sugar
1/2 cup granulated sugar
2 eggs
1 teaspoon vanilla
1 1/2 cups all-purpose flour
1 teaspoon baking soda
1 teaspoon ground cinnamon
1/2 teaspoon salt
3 cups Quaker Oats, uncooked
2 cups dark chocolate chips

Heat oven to 350 degrees.
Beat butter and sugars until creamy
Add eggs and vanilla
Add combined flour, baking soda, cinnamon and salt
Add oats and chocolate chips, mix well.
Drop rounded tablespoons on un-greased cookie sheet.
Bake 8-10 minutes (I baked mine for 9 and they were perfect!)
Cool for one minute on pan and remove to cool on wire rack.

Because I do not need four dozen cookies sitting around my house, I packed up two to-go packs one for my dad and one for my father-in-law.

Enjoy!!
Amanda

Monday, July 30, 2012

Ooey Gooey Dark Chocolate Brownies

Do you ever get a craving for chocolate and just have to make something chocolatey? Please someone say they do....


Well this happens to me. More often than it should. I normally keep baking supplies well stocked in my house so lucky for me, I *almost* always have the stuff to whip something up.

I searched Pinterest for the best dark chocolate brownies, I look at pictures and I decided these were the ones I needed to make! The link took me to Brown Eyed Baker (I was not surprised by this because I love everything I have made from her site already). Her recipe, here, is inspired by Baked: New Frontiers in Baking is rich, dense, ooey, gooey, chocolatey goodness. It's as simple as this:


1¼ cups all-purpose flour
1 teaspoon salt
2 tablespoons dark unsweetened cocoa powder
11 ounces dark chocolate, coarsely chopped
1 cup (8 ounces) unsalted butter, cut into 1-inch pieces
1 teaspoon instant espresso powder
1½ cups granulated sugar
½ cup packed light brown sugar
5 eggs, at room temperature
2 teaspoons vanilla extract


1. Preheat the oven to 350 degrees F. Butter the sides and bottom of a 9×13-inch glass or light-colored baking pan. Line the pan with parchment paper.


2. In a medium bowl, whisk the flour, salt, and cocoa powder together.


3. Put the chocolate, butter and instant espresso powder in a large bowl and set it over a saucepan of simmering water, stirring occasionally, until the chocolate and butter are completely melted and smooth. Turn off the heat, but keep the bowl over the water and add the sugars. Whisk until completely combined, then remove the bowl from the pan. The mixture should be room temperature.


4. Add 3 eggs to the chocolate mixture and whisk until combined. Add the remaining eggs and whisk until combined. Add the vanilla and stir just until combined. Do not over beat the batter at this stage or your brownies will be cakey.


5. Sprinkle the flour mixture over the chocolate mixture. Using a rubber spatula, fold the flour mixture into the chocolate until just a bit of the flour mixture is visible.


6. Pour the batter into the prepared pan and smooth the top. Bake in the center of the oven for 30 minutes, rotating the pan halfway through the baking time, until a toothpick inserted into the center of the brownies comes out with a few moist crumbs sticking to it. Let the brownies cool completely, then lift them out of the pan using the parchment paper. Cut into squares and serve.


7. Store at room temperature in an airtight container or wrap with plastic wrap for up to 3 days.


Are you on Pinterest? Have you found great success with recipes on there? Come find me on Pinterest!

Enjoy!!!

xoxo
Amanda


Sunday, June 3, 2012

Rhubarb-Strawberry Crisp

This may be too late for any of you that do not live in Alaska, as your rhubarb has probably already ripened and been eaten. It is June and mine rhubarb is barely ripe enough to use. I cut a few stalks of the bigger peices today to make my grandma (and my dad) a strawberry rhubarb crisp.


Inspired by Martha Stewart's Rhubarb Raspberry Crisp, I created a Rhubarb-Strawberry Crisp.


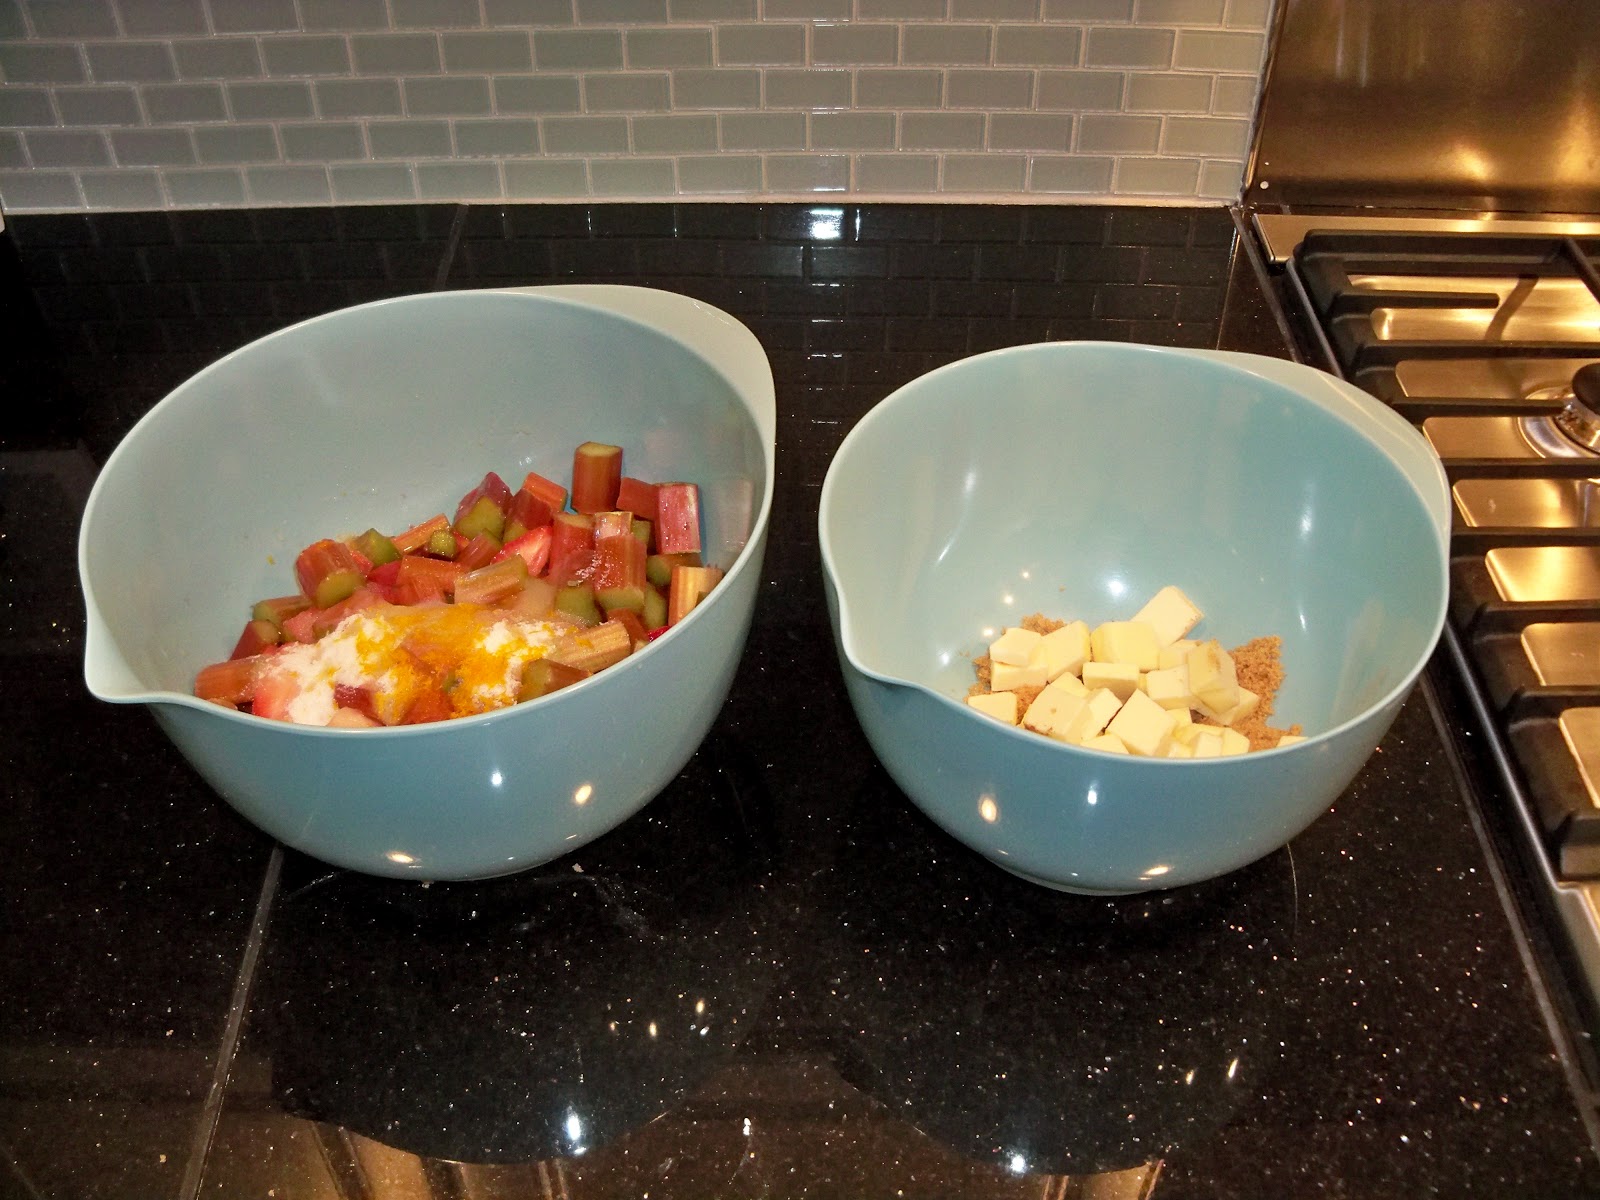
In the first bowl, I have 4 cups of fruit (mostly rhubarb, but if you want it sweeter put more strawberries), 2/3 cup sugar, and the zest and juice of one orange. In the second bowl (on the right), I have 1 cup flour, 1/2 cup brown sugar, 1 stick of butter and 1/2 teaspoon cinnamon.

I mixed the fruit together making sure the sugar/orange juice mixer covers the fruit evenly. I mixed the flour/brown sugar bowl with my hands until the butter was evenly dispersed. Then I added the 1/2 cup rolled oats.


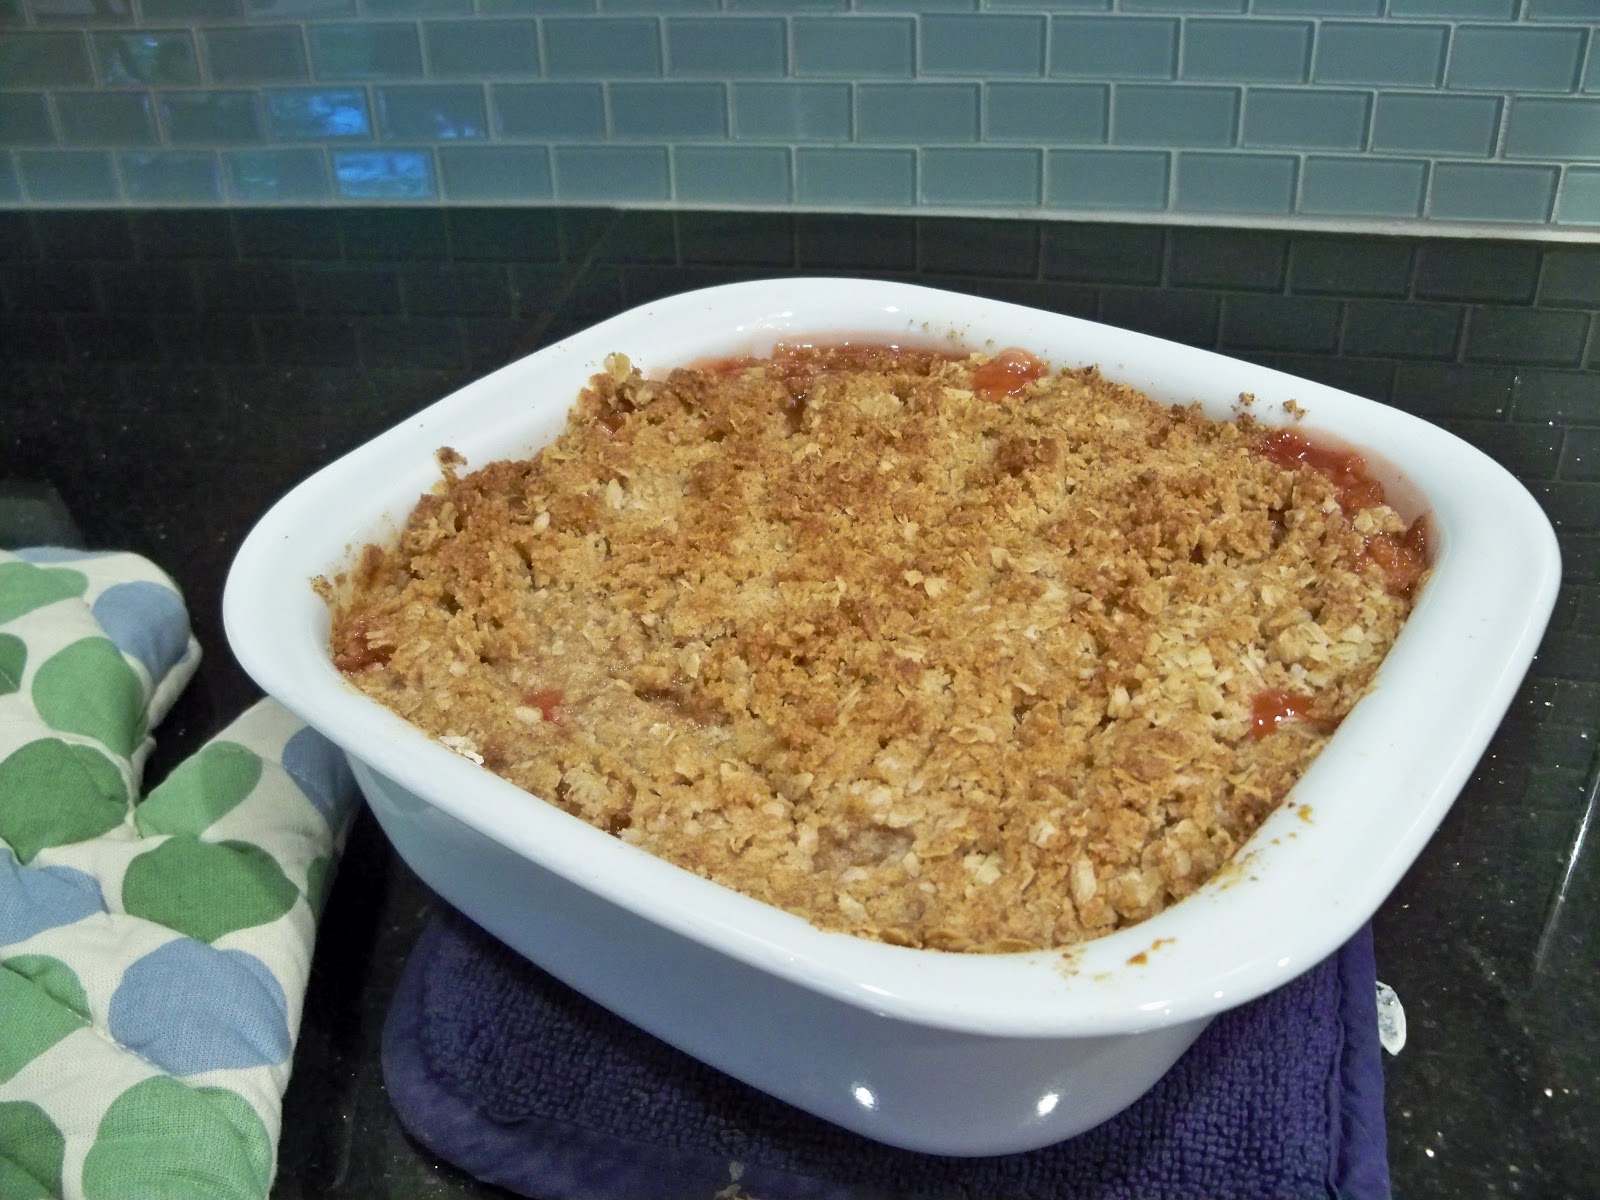
I poured the fruit mixture into the bottom of my 1 1/2 quart baking dish and covered the top with the flour mixer. It went into a 350 degree oven for 45 minutes.

This is what it looks like!


I am not cutting into this one because I am bringing it over to my parent's when it cools enough to transport. I hope it is as good as it smells! Mmmmm..... I'm thinking they should have it with some vanilla bean ice cream though. :)

Thursday, March 29, 2012

Thin Mint Brownies


Do you have left over Girl Scout cookies you need to get rid of??

Ha! Who am I kidding? Normal people don't store them away or buy the kinds they don't actually like that much. That's right, I said it, I don't like Thin Mints that much...I would eat them if I were forced to, but they are not my Girl Scout cookie of choice. I would much prefer a box of Tagalongs.

Anyway, I have this box of Thin Mints just taking up room in my cupboard and I wanted to use them for something yummy!  I decided to use them as the flour in my brownie recipe. I followed the Baker's One bowl brownie instruction but tweaked it a bit to use my Thin Mints. Here is how I did it:

4 ounces (squares) of unsweetened chocolate
1 1/2 stick butter
2 cups sugar
3 eggs
1 sleeve of Thin Mint cookies (I counted 17 cookies), crushed
1/2 cup all purpose flour
1 teaspoon vanilla
1/2 teaspoon mint extract

1. Melt unsweetened chocolate and butter in microwave (I had to do a double boiler on the stove, because I still don't have a microwave...long story for later).
2. Remove from heat or microwave and add two cups sugar.
3. Stir in the eggs, adding one at a time.
4. add crushed Thin Mints, flour, and extracts
5. Spread into foil lined 13 x 9" pan
6. Bake at 375 degrees for 30 to 35 minutes.

Enjoy with a glass of cold milk (or vanilla almond milk like I did)!

-Amanda